Difference between revisions of "Installation"
From Ribbon Commander Documentation
(→Installing) |
(→Installing) |
||
| Line 11: | Line 11: | ||
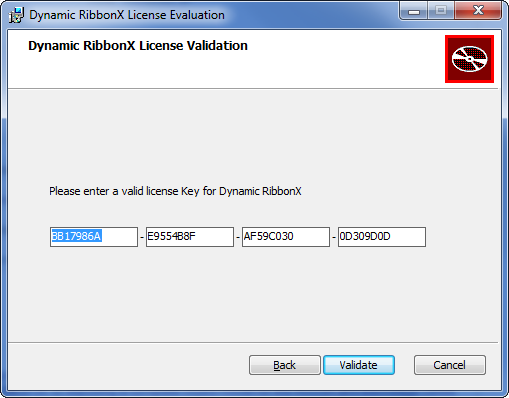
# Enter your license key (NOTE: you can copy-paste each of the four blocks) and click 'Validate' | # Enter your license key (NOTE: you can copy-paste each of the four blocks) and click 'Validate' | ||
#: [[Image: EnteredLicenseKey.png]] | #: [[Image: EnteredLicenseKey.png]] | ||
| + | # Your license key will get validated over the network - this might take a few seconds. | ||
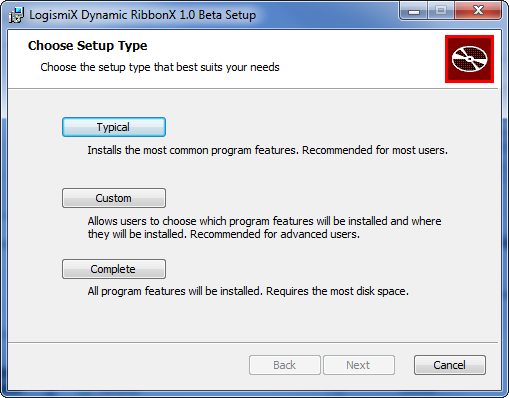
| + | # Click on 'Typical' to install all recommended components or 'Custom' to opionally exclude one or more (optional) components | ||
| + | #: [[Image: SetupType.png]] | ||
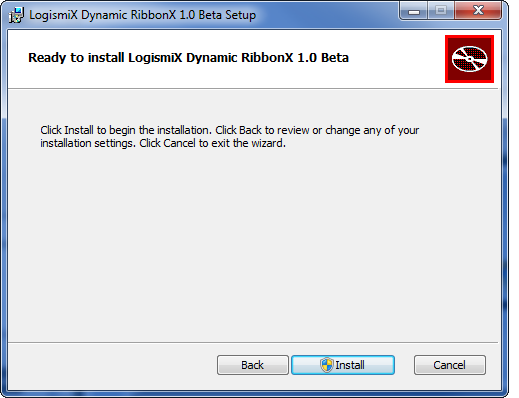
| + | # Click on 'Install' (this requires admin rights on the target PC) | ||
| + | #: [[Image: InstallationConfirmation.png]] | ||
== Verifying Installation Success == | == Verifying Installation Success == | ||
Revision as of 15:53, 10 March 2013
Obtaining the msi package
Visit www.dynamicribbonx.com and follow the 'Download Latest Version' link. Follow the on-screen instructions to obtain the msi installer package (DynamicRibbonX.msi).
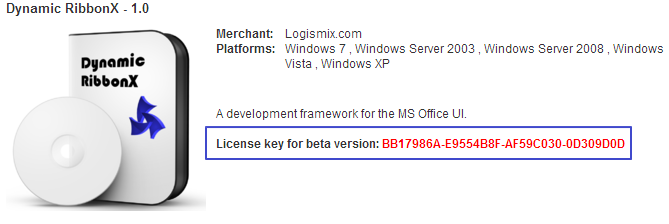
NOTE: If you are downloading the Beta version, take note of the license key on the download screen:
Installing
- Double-click on DynamicRibbonX.msi or right-click and select Install.
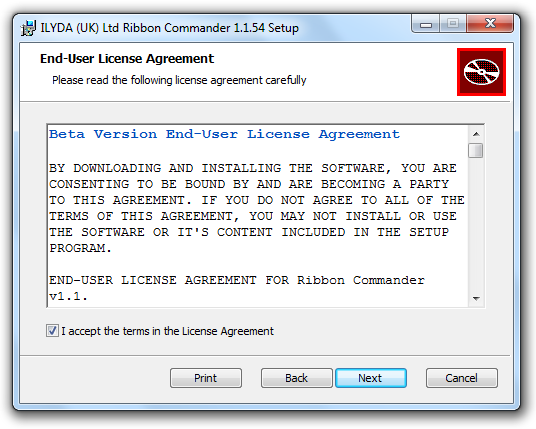
- Read carefully the License Agreement and check the checkbox if you agree in order to proceed
- Enter your license key (NOTE: you can copy-paste each of the four blocks) and click 'Validate'
- Your license key will get validated over the network - this might take a few seconds.
- Click on 'Typical' to install all recommended components or 'Custom' to opionally exclude one or more (optional) components
- Click on 'Install' (this requires admin rights on the target PC)
